

If Every Change in HubSpot Feels Risky, You Need a Sandbox
When we ask teams why they haven’t fixed obvious issues in HubSpot, we hear:
- “We’re afraid of breaking something mid-quarter.”
- “We tried a change once and it messed up our data.”
- “We don’t know how updates will affect existing workflows and reports.”
As your portal grows in complexity, directly experimenting in production becomes dangerous.
That’s exactly what sandbox environments are for.
Used correctly, sandboxes let you:
- Test new pipelines, fields, workflows, and integrations.
- Validate changes against real-world scenarios.
- Train teams on new processes.
- …without touching live data or disrupting revenue teams.
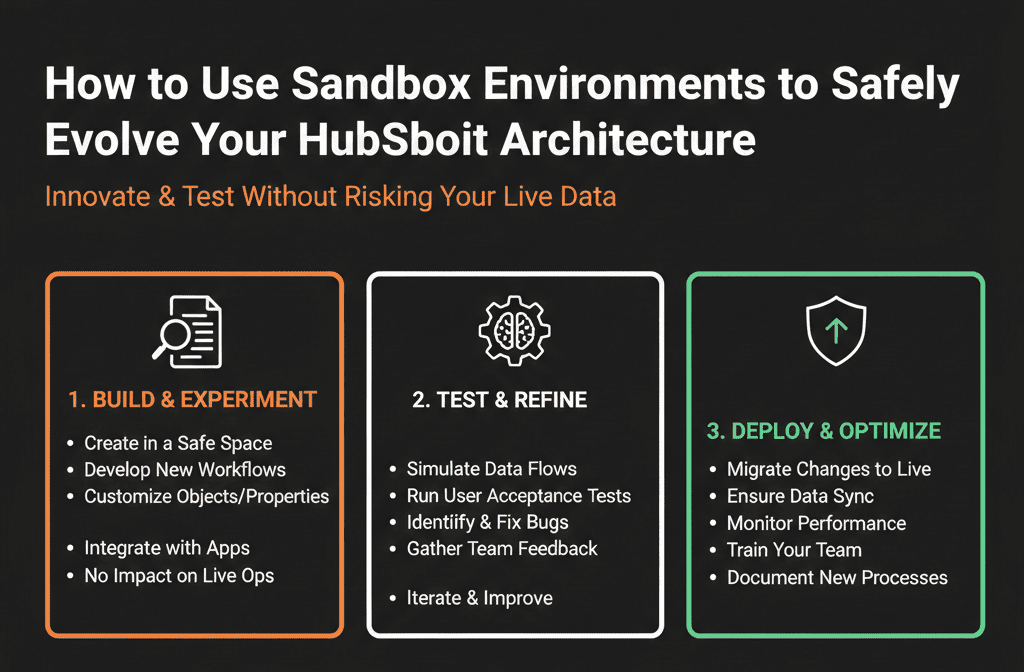
This article explains how to use HubSpot sandboxes to safely evolve your architecture.
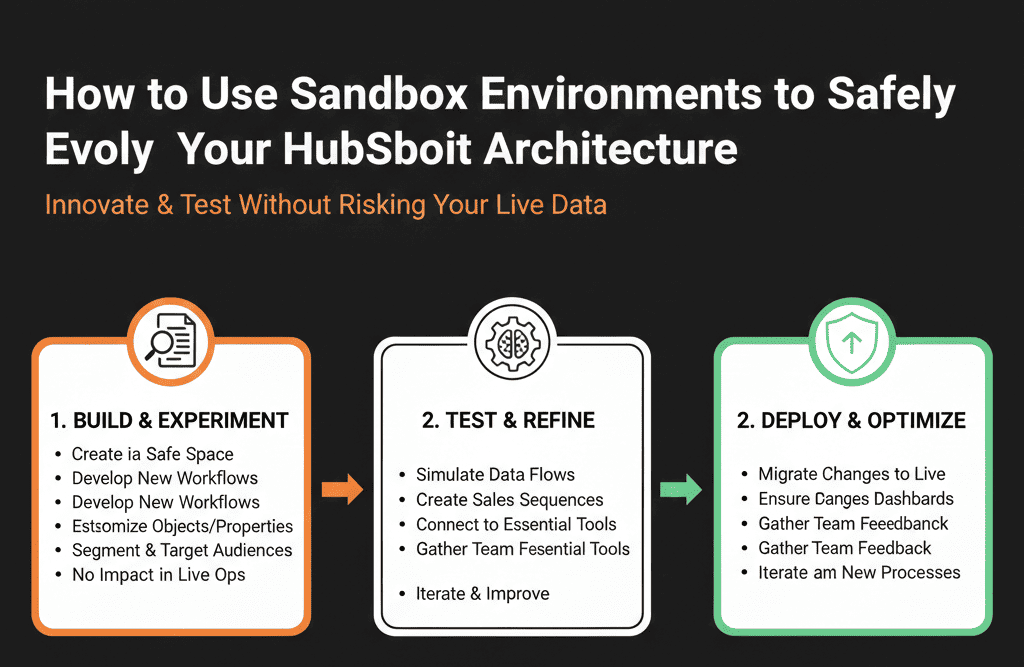
Step 1 – Understand What a HubSpot Sandbox Is (and Isn’t)
A sandbox is:
- A separate HubSpot environment linked to your main portal.
- A place to experiment with:
- Objects and properties.
- Pipelines and stages.
- Workflows and automation.
- Integrations (where supported).
It is not automatically:
- A perfect mirror of all your live data.
- A place where users should run daily operations.
- A “set-and-forget” clone—sandboxes can go stale as prod evolves.
Think of your sandbox as:
A laboratory for HubSpot changes—not a second CRM.
Step 2 – Decide When You Actually Need a Sandbox (vs Quick Live Changes)
You don’t need a sandbox for every tweak.
We recommend using a sandbox when:
- You’re redesigning pipelines and stages.
- You’re changing lifecycle logic or lead routing.
- You’re building or refactoring complex workflows.
- You’re testing new integrations that write to critical fields.
- You’re planning a major migration or consolidation.
For small, low-risk changes (e.g., adding a simple reporting field, minor list logic), careful work in production with backups may be fine.
Rule of thumb:
If the change affects revenue-critical fields or processes, test it in a sandbox first.
Step 3 – Set Up and Refresh Your Sandbox Responsibly
When you create or refresh a sandbox:
Decide which data and configuration to copy:
- Objects and properties?
- Pipelines and workflows?
- Users and roles?
- (HubSpot’s options depend on your subscription tier—adapt to what you have.)
Clean up:
- Remove or anonymize sensitive data where required.
- Limit sandbox access to people who actually need it (RevOps, admins, selected testers).
Document:
- When the sandbox was created/refreshed.
- What it roughly mirrors (portals, major configurations).
- What tests or projects it will be used for.
Remember:
A sandbox takes a snapshot in time; it doesn’t stay perfectly synced with production.
Step 4 – Use Sandboxes for Structured Experiments, Not Random Play
Treat sandbox work as mini-projects, not random clicking.
For each initiative (e.g., new lead routing logic), define:
Goal
Example: “Implement territory-based routing by region and segment, and ensure all demo leads get an owner + task within 5 minutes.”
Scope
Which objects and fields will we touch?
Which workflows and integrations are in play?
Which teams/processes will be affected?
Test plan
What sequences of actions will we try?
e.g., submit test forms, create test deals, simulate lifecycle changes.
Which edge cases must we cover?
- Multiple brands.
- Existing accounts vs new accounts.
- Different regions.
Rollout plan
How will we move the tested design into production?
What needs to be manually recreated vs cloned/synced?
This keeps sandbox use purposeful and focused.

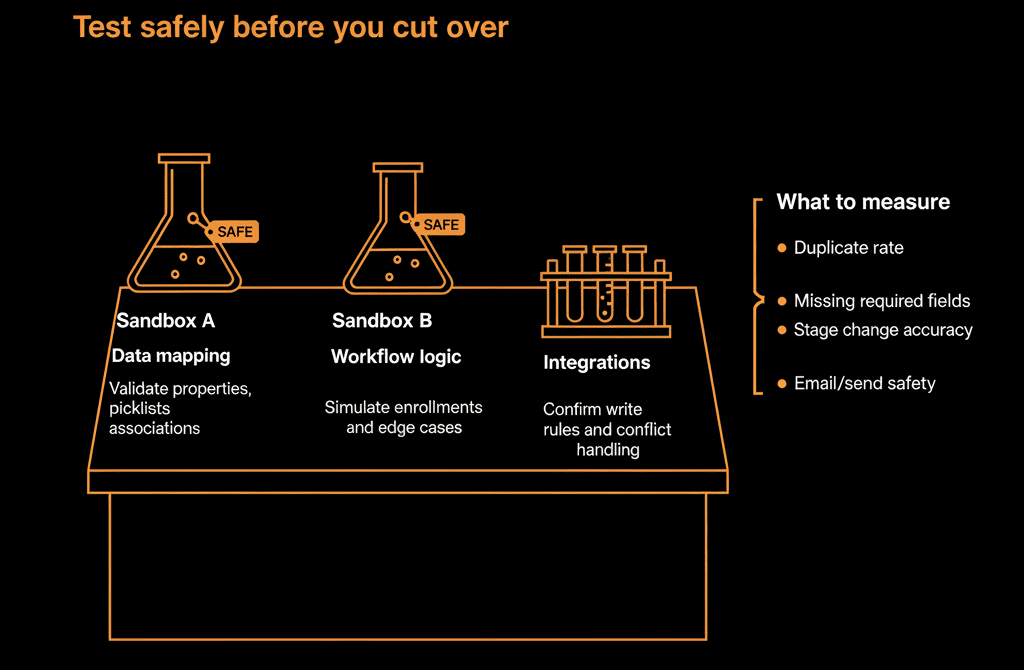
Step 5 – Test Core Areas Safely in the Sandbox
Here’s where sandboxes are especially valuable.
5.1 Pipelines and stages
In the sandbox, you can:
- Rebuild pipelines with new stages and criteria.
- Create test deals and move them through the funnel.
- Check how reporting looks with the new stage design.
Validate:
- Do the stage names and flow feel natural to test users?
- Do win/loss reporting and funnel conversion still make sense?
- Are automations (tasks, emails) triggered correctly?
5.2 Lifecycle and lead management
Test:
- New lifecycle stage logic.
- New MQL/SQL criteria.
- New lead status options and flows.
- Revised routing and SLA workflows.
Simulate:
- Submitting high-intent forms.
- Importing leads with different attributes.
- Account-based logic (existing vs new accounts).
5.3 Complex workflows
Use sandbox to:
Build or refactor workflows that:
- Update lifecycle, lead status, or deal stage.
- Assign owners and create tasks.
- Update or standardize key properties.
Enroll test records and:
- Step through each branch.
- Confirm expected outcomes.
- Check for infinite loops or conflicting rules.
5.4 Integrations
For integrations (where supported in sandbox):
- Connect staging/test environments of external tools.
- Ensure mappings don’t overwrite critical fields wrongly.
- Validate dedupe logic and association rules.
Step 6 – Plan the Path from Sandbox to Production
Sandboxes don’t sync changes automatically back to prod.
You must intentionally move tested designs.
For each change:
List what needs to be replicated:
- Properties.
- Pipelines & stages.
- Workflows.
- Reports & dashboards.
- User roles/permissions changes.
Decide the sequence:
Usually: properties → pipelines → workflows → views/reports.
Plan for minimal disruption:
- Do high-risk changes off-hours or at low-activity times.
- Communicate to stakeholders:
- What’s changing.
- Why.
- When.
- What they need to do differently.
Have a rollback plan:
- Keep old workflows deactivated but not deleted until you’re sure.
- Take report screenshots/export before major changes for sanity checks.
The sandbox becomes your “tested blueprint”, and production is where you carefully rebuild it.
Step 7 – Use the Sandbox for Training and Change Adoption
Sandboxes are also great for:
- Letting reps and marketers practice new processes without touching real data.
- Running role-based training:
“Here’s how the new deal stages work.”
“Here’s how to handle MQLs under the new lifecycle logic.”
You can:
- Create example deals and leads.
- Walk through the updated journey live.
- Capture feedback before changes hit production.
This reduces resistance and confusion on launch day.
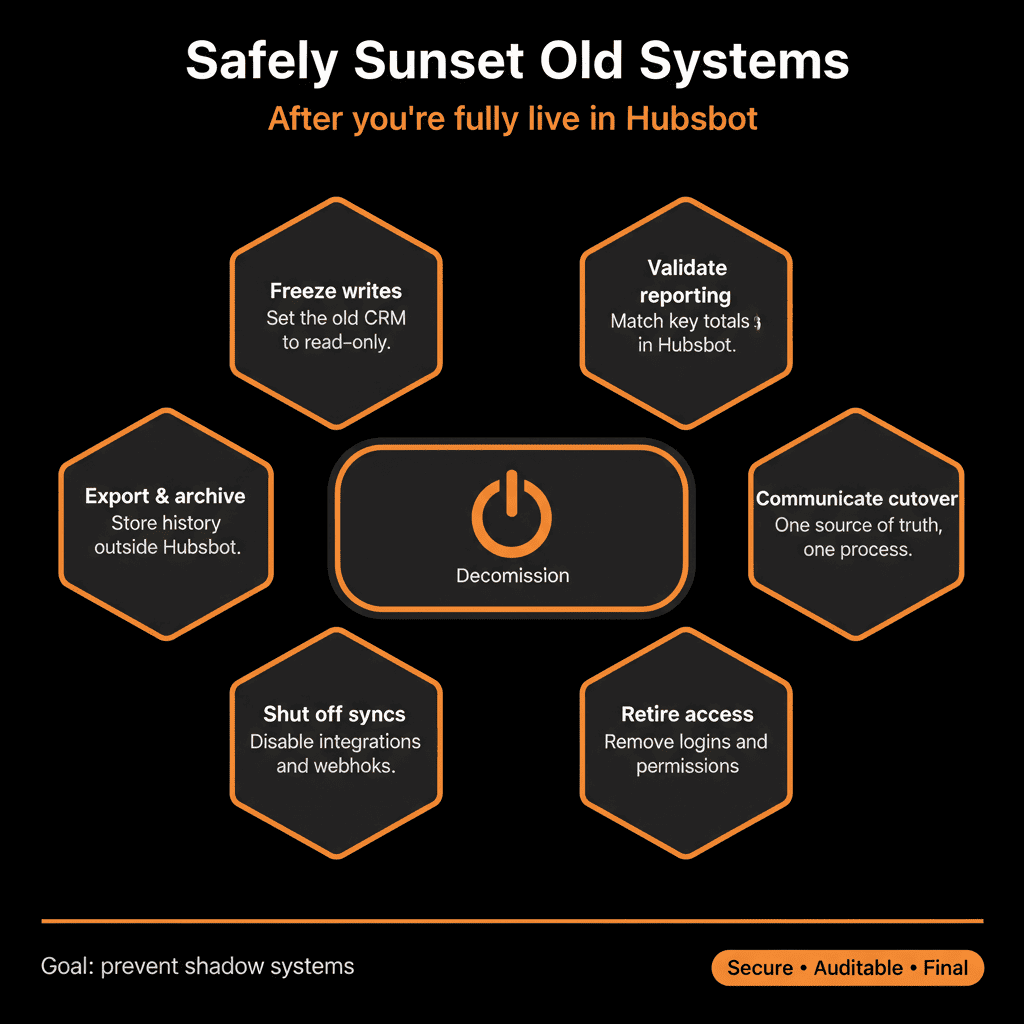
Step 8 – Maintain Sandbox Hygiene and Lifecycle
Sandboxes can become messy too if ignored.
We recommend:
- Refreshing the sandbox periodically (e.g., quarterly, or before major projects), so it stays close to production.
Cleaning test data:
- Archive or delete old test records periodically.
- Clear outdated workflows after they’ve been implemented or rejected.
Using naming conventions:
- Prefix test-only assets (lists, workflows, pipelines) with TEST – so they’re easy to distinguish.
Reviewing access:
- Keep sandbox users limited to those who actually test and configure.
The sandbox should feel like a clean workshop, not a junkyard.
What You Can Do in the Next 30 Days
If you’re not using sandboxes yet—or not using them well:
- Create or refresh a HubSpot sandbox linked to your production portal.
- Pick one significant upcoming change (e.g., new lead routing, pipeline redesign) to prototype there.
Define a simple test plan:
- 3–5 scenarios you’ll simulate.
- Clear pass/fail conditions.
Rebuild the final, tested version in production during a planned window, with:
- A brief internal announcement.
- Minimal downtime.
- Rollback options.
You’ll see immediate reduction in risk and anxiety around making improvements.
Want Help Designing Sandbox-First Changes to Your HubSpot Architecture?
If your team is hesitant to touch HubSpot because everything feels risky, a sandbox-first approach can unlock the improvements you’ve been stalling.
Our HubSpot Portal Health Check / HubSpot Audit can include:
- Identification of high-risk areas that should always be sandbox-tested.
- A sandbox usage strategy and change workflow tailored to your team.
- A roadmapped set of architecture improvements prototyped safely before production.Update this content and dont miss any word