

Leads Don’t Have a Patience Problem. You Have a Speed Problem.
You can spend heavily to generate demand.
But if you’re slow to respond to high‑intent leads, you’re funding your competitors’ pipeline.
Common patterns we see in HubSpot portals:
- Demo/contact sales forms that create contacts but no tasks or deals.
- Leads stuck unassigned for hours or days.
- No consistent SLA monitoring—only anecdotal complaints.
Speed‑to‑lead is not just about hustling harder.
It’s about designing HubSpot so the system routes, reminds, and escalates on your behalf.
In this article, we’ll show you how to set up routing, SLAs, and alerts in HubSpot to stop lead leakage.
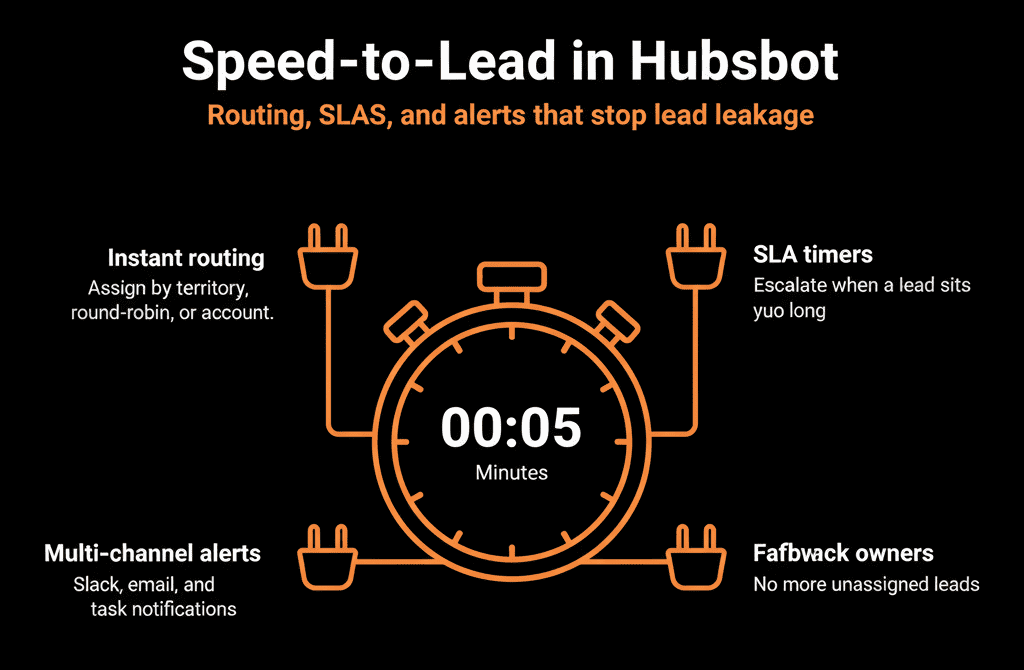
Step 1 – Understand Why Speed‑to‑Lead Matters (With Simple Numbers)
Industry data and real‑world experience show:
- Contacting a lead within 1 hour massively increases the chance of meaningful engagement.
- Waiting 24+ hours dramatically lowers conversion.
Example:
100 high‑intent leads/month.
Contacted within 1 hour → 30% become opportunities.
Contacted after 24 hours → 10% become opportunities.
If half your leads are slow/never contacted:
- 50 fast → 15 opps.
- 50 slow → 5 opps.
- 20 opps/month total.
If you get 80–90% fast responses:
- 80 fast → 24 opps.
- 20 slow → 2 opps.
- 26 opps/month total.
Gain: +6 opps/month. If an opp ~ $10k pipeline, that’s ~$60k pipeline/month at stake.
HubSpot can’t call leads for you. But it can ensure nothing gets lost or delayed silently.
Step 2 – Classify Lead Types and Required Response Times
Not all leads are equal.
Start by classifying lead types and expected SLAs.
Common categories:
High‑intent (fastest SLA)
- Demo requests.
- “Contact sales” forms.
- Trial signups with clear buying intent.
Medium‑intent
- Product/content downloads with some buying context (case studies, pricing pages).
- Webinar attendees on focused topics.
Low‑intent
- Newsletter signups.
- Top‑of‑funnel content downloads.
Define SLAs, for example:
- High‑intent: first touch within 1–4 business hours.
- Medium‑intent: first touch within 24–48 hours.
- Low‑intent: nurture via automated programs; no strict sales SLA.
This becomes the backbone for your routing and alerts.
Step 3 – Design Routing Rules Based on Fit and Ownership
Routing should reflect your GTM model, not just “round‑robin every SDR.”
Consider:
- Territory or region: route by country/region to local teams.
- Segment or ICP tier: SMB vs mid‑market vs enterprise; strategic/target accounts to specific reps.
- Channel or campaign: partner vs direct; specific campaign owners (e.g., ABM programs).
Implementing routing in HubSpot:
Ensure data for routing exists
- Forms capture country/region and any segmentation fields you need.
- Enrichment workflows fill gaps where possible.
Use Workflows for assignment
Enrollment triggers:
- New Contact with certain form submission.
- Or new Deal created from high‑intent submission.
Branching by:
- Country/region.
- Company size/ICP tier.
- Channel/source/campaign.
Actions:
- Set Contact and/or Deal owner.
- Optionally use round‑robin within an owner pool.
Standardize owner fields
hubspot_owner_id for Contacts, Companies, Deals should be in sync for active accounts.
Goal: Every high‑intent lead has a clear owner within seconds.
Step 4 – Automate Task Creation and Sequences for Immediate Follow‑Up
Assignment alone isn’t enough; reps need clear next steps.
Use HubSpot to:
Create tasks on new high‑intent leads
Workflow actions:
- Create a task: “Call new demo request from [Company]”.
- Due date: within your SLA (e.g., 4 business hours).
- Assign to lead/Deal owner.
Auto‑enroll in sales sequences (with care)
For certain forms:
- Enroll the Contact into a tailored sequence that includes emails, calls, and tasks.
- Require careful template writing and guardrails to avoid enrolling existing customers or sensitive segments.
Use queues and views
Create filtered views:
- “My new high‑intent leads (today).”
- “My tasks due today from inbound.”
This turns inbound into a structured, visible queue rather than an inbox lottery.
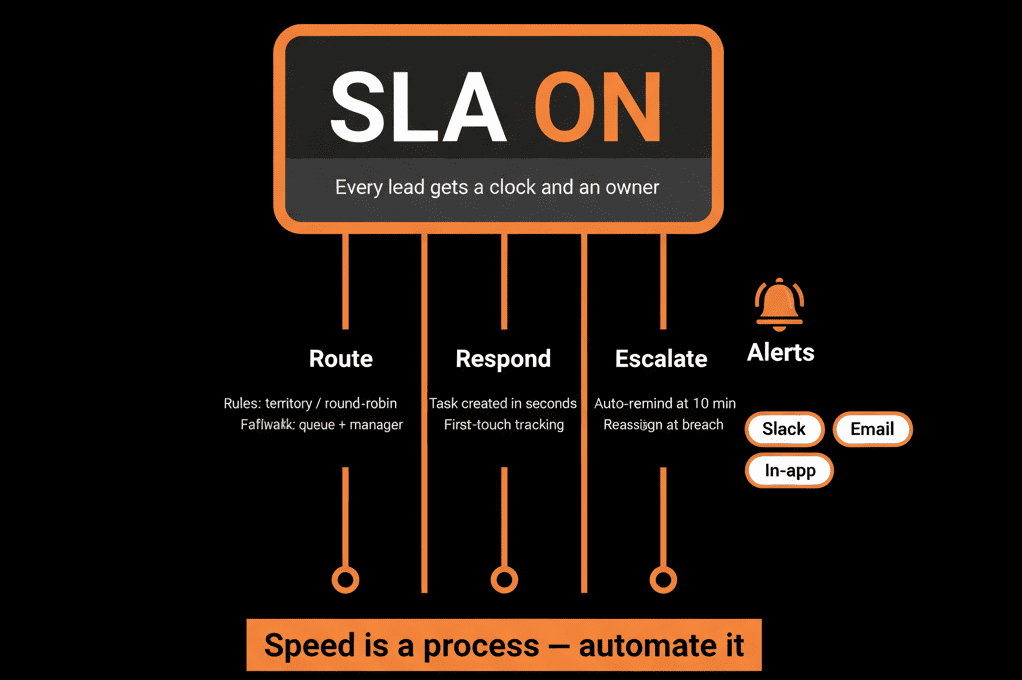
Step 5 – Define SLAs in HubSpot Terms and Build Alerts
Translate your SLAs into conditions HubSpot can check.
For example:
High‑intent leads SLA
Condition:
- Contact created from a high‑intent form.
- No logged sales activity (call, email, meeting) within 4 business hours.
Build alerts with workflows:
Initial reminder
Workflow:
- Enrollment: new high‑intent Contact.
- Delay: 2 hours.
- If still no activity: send reminder task or internal email to owner.
SLA breach alert
- After 4 hours (or next business day), if still no activity: notify owner + manager via email or Slack.
- Optionally reassign lead if owner is inactive/bandwidth‑constrained.
Reporting on SLA performance
Create properties or logs to track:
- Time‑to‑first‑touch.
- SLA‑met vs SLA‑breached flags.
This makes lack of follow‑up visible and actionable.
Step 6 – Handle Out‑of‑Hours and Regional Time Zones
SLA logic must respect working hours, especially across regions.
Guidelines:
- Set user time zones correctly in HubSpot.
- For global teams, consider separate workflows per region (using region fields) and different SLA windows per region.
When designing workflows:
- Use business hours where possible.
- If HubSpot’s built‑in timing is limited for your use case, approximate by delaying actions only during working hours and building region‑specific resolutions.
The goal is to be fast in local terms, not just total hours since submission.
Step 7 – Monitor Speed‑to‑Lead and Routing with Dashboards
Make speed‑to‑lead a visible metric, not an occasional audit.
Key reports:
Time‑to‑first‑touch
- Average and median by lead type (high/medium/low intent).
- By rep, segment, and region.
SLA attainment
- % of high‑intent leads touched within SLA.
- Trend over time.
Routing health
- Count of new leads with no owner.
- Age of unassigned leads.
Visualize:
- Use bar and line charts for trends.
- Use filtered tables for exception lists (e.g., “high‑intent leads untouched after 24 hours”).
Review this dashboard weekly in Sales/RevOps syncs.
Step 8 – Continuously Improve Criteria and Rules
Speed‑to‑lead design is not static.
Regularly review:
- Are we classifying the right forms and events as high‑intent?
- Are SLAs realistic given team capacity?
- Are certain segments or channels routinely breaching SLAs?
Then:
- Refine routing rules (e.g., more granular by segment/region).
- Adjust staffing or shift coverage if certain times are consistently underserved.
- Update sequences and scripts based on what works best in quick‑response scenarios.
This keeps your speed‑to‑lead engine competitive as volume and GTM strategy evolve.
Pulling It Together: Make Lead Speed a System Property, Not a Heroic Effort
Stopping lead leakage in HubSpot is not about yelling “follow up faster.”
It’s about designing the system so:
Every high‑intent lead:
- Has a clear owner.
- Has a defined next step.
- Is monitored against an SLA.
Every breach:
- Is visible.
- Has an escalation path.
Every improvement:
- Is measured via dashboards and acted on deliberately.
Do this, and speed‑to‑lead becomes a repeatable advantage, not a lucky accident.
Want Help Designing Speed‑to‑Lead in Your HubSpot Portal?
If high‑intent leads are slipping through the cracks—and HubSpot isn’t enforcing SLAs or routing properly—this is exactly where we can help.
Our HubSpot Portal Health Check and Migration & ROI Plan are designed to:
- Audit your current lead capture, routing, and follow‑up flows.
- Design SLAs, workflows, and alerts tailored to your GTM.
- Build dashboards that make speed‑to‑lead a visible, managed metric.
So you can turn inbound demand into opportunities consistently—and quickly.